Grab some paint and popsicle sticks to make these ADORABLE decorations! Kids and adults alike will enjoy making their own popsicle stick s’mores craft. Follow the simple steps below to create some s’mores decor.

Okay, how cute is this s’mores craft? SO CUTE!
You won’t need a ton of art supplies to whip up your own popsicle stick s’mores craft. This one uses some very common craft items, including paint, glue and popsicle sticks.
Camping Crafts for Kids
I just love the way that this s’mores craft turned out. It will make a great addition to our growing collection of kid camping crafts on the blog! Before we dive into the tutorial for our smores craft, check out the other DIY ideas that have posted lately:
- Recycled Material Lantern Craft
- Camping Whistle Craft for Kids
- Paper Plate Compass Craft
- Popsicle Stick Tent Craft
- Handprint Campfire Paper Craft
Alright! Let’s make this easy s’mores craft!
S’mores Crafts for Summer Camp
S’mores themed crafts are perfect for summer crafts and camp art activities. They would also work great for scout crafts, camping trip crafts, or even just rainy day boredom busters.
S’mores are an iconic camping treat that have been enjoyed for decades. They feature a melted marshmallow, topped with a piece of a chocolate bar, sandwiched in between 2 graham crackers.
If you are teaching any kind of themed unit at school about camping, wilderness, the National Parks, etc., this s’more craft would tie in and extend the learning time. (Of course, you could REALLY up the lesson by making real s’mores!)
S’mores Craft Supplies
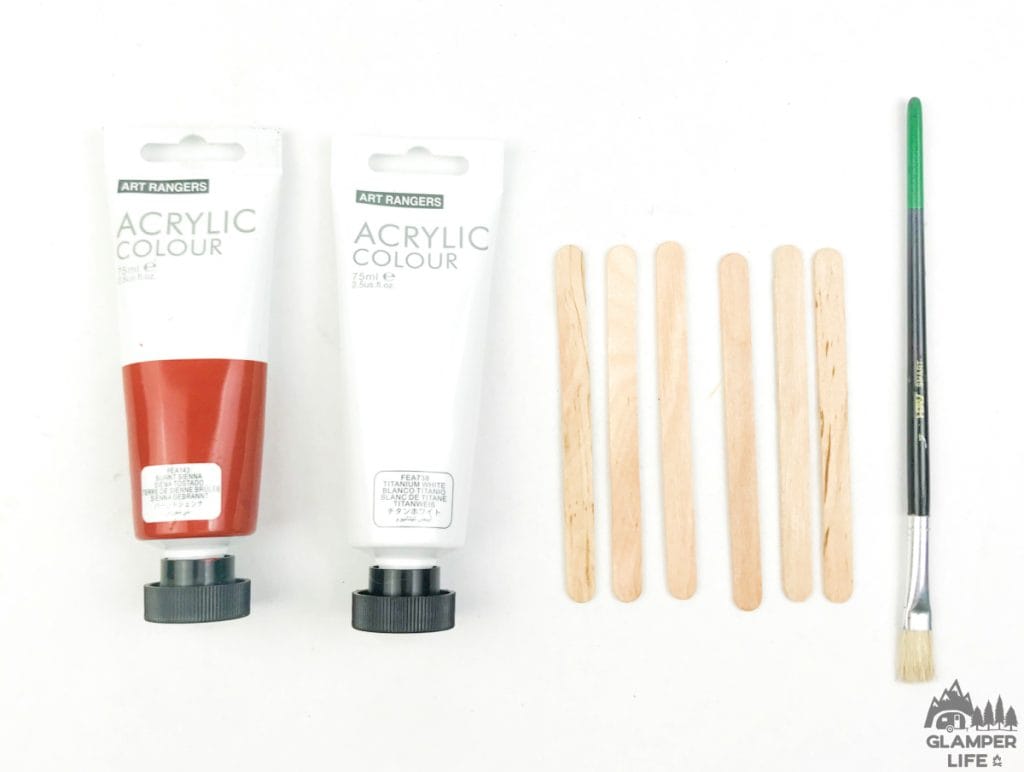
Gather up the following art supplies to make this popsicle stick s’mores craft:
- Acrylic paints (Titanium white and Burnt Sienna)
- Popsicle sticks (Thick and thin)
- Scissors
- Markers (Pink and Black)
- Hot glue gun (with a glue stick refill)
- Paint brush

Popsicle Stick S’mores Craft Tutorial
Follow the steps below to make your s’mores craft!
1. Paint 4 of the thin popsicle sticks with the white acrylic paint. Paint a 5th thin stick with the burnt sienna color. Allow sticks to dry.

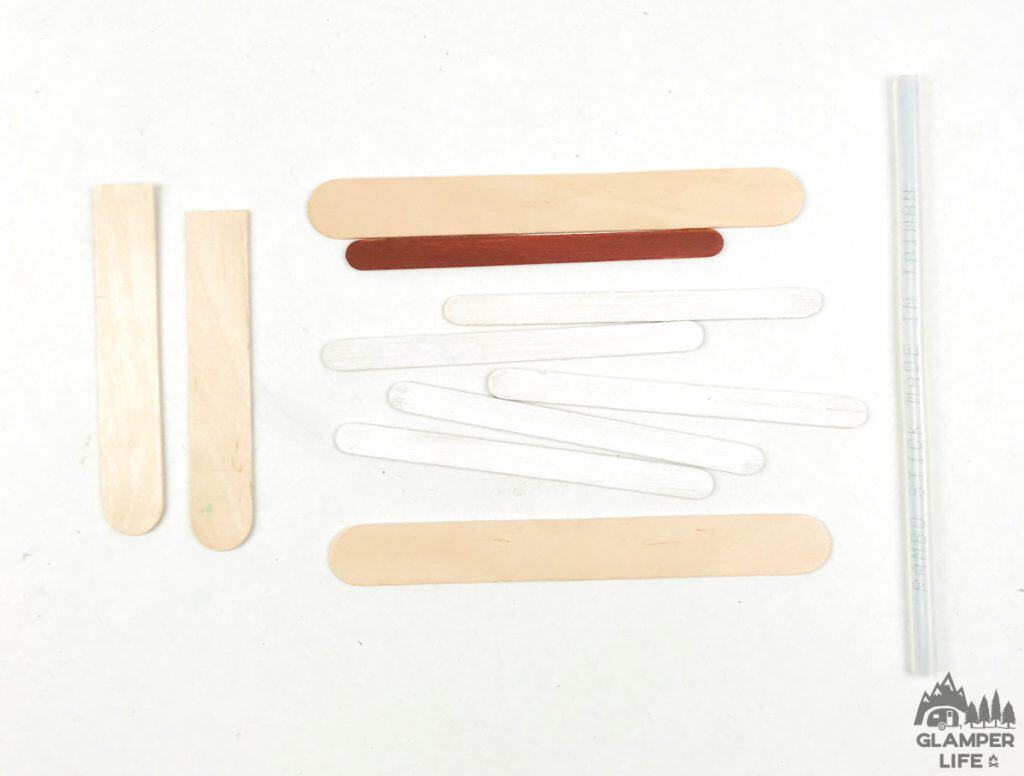
2. Use scissors to cut 2 of the larger craft sticks in half. These halves will be glued to the back of the s’more and act as a support.

3. Assemble the painted sticks plus 2 of the thicker craft sticks as shown below. They are ready to be glued together.
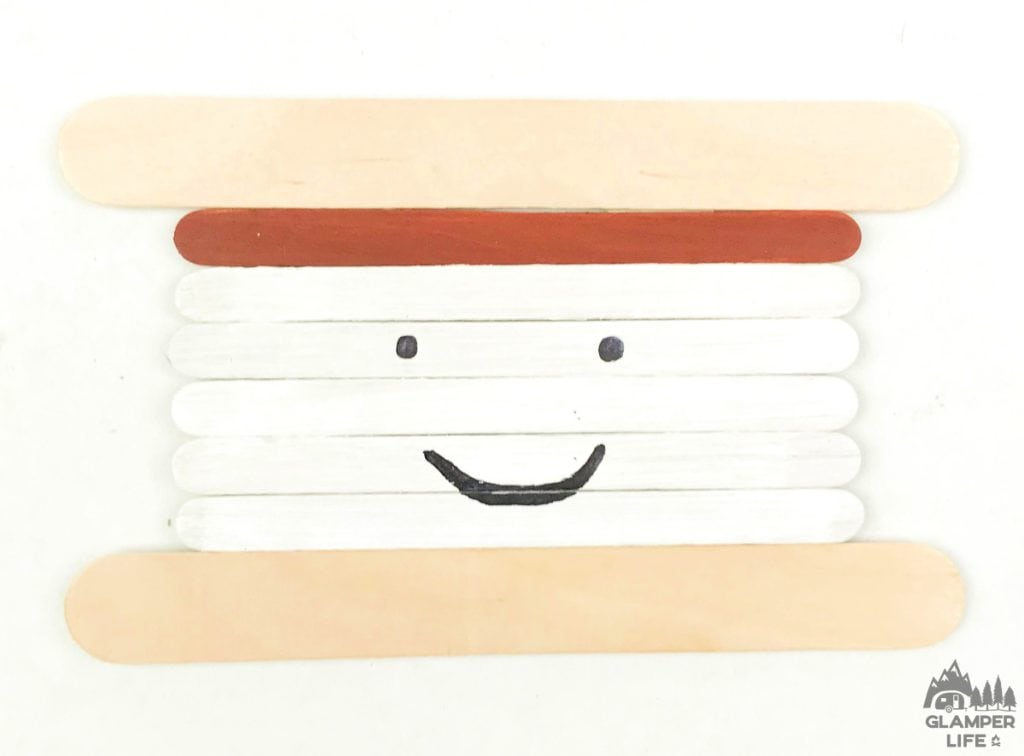
The white painted sticks represent the marshmallow in a s’more, while the brown painted stick is the chocolate. Both of the larger craft sticks represent the graham crackers.
Use the hot glue gun to spread a line of glue on the half sticks that you cut. Glue the half sticks to the backs of the s’more. The half sticks should hold the s’more together.

4. Use a black marker or pen to draw a smiley face on the white part of the s’more.
5. Add 2 dots for pink cheeks with the pink marker.
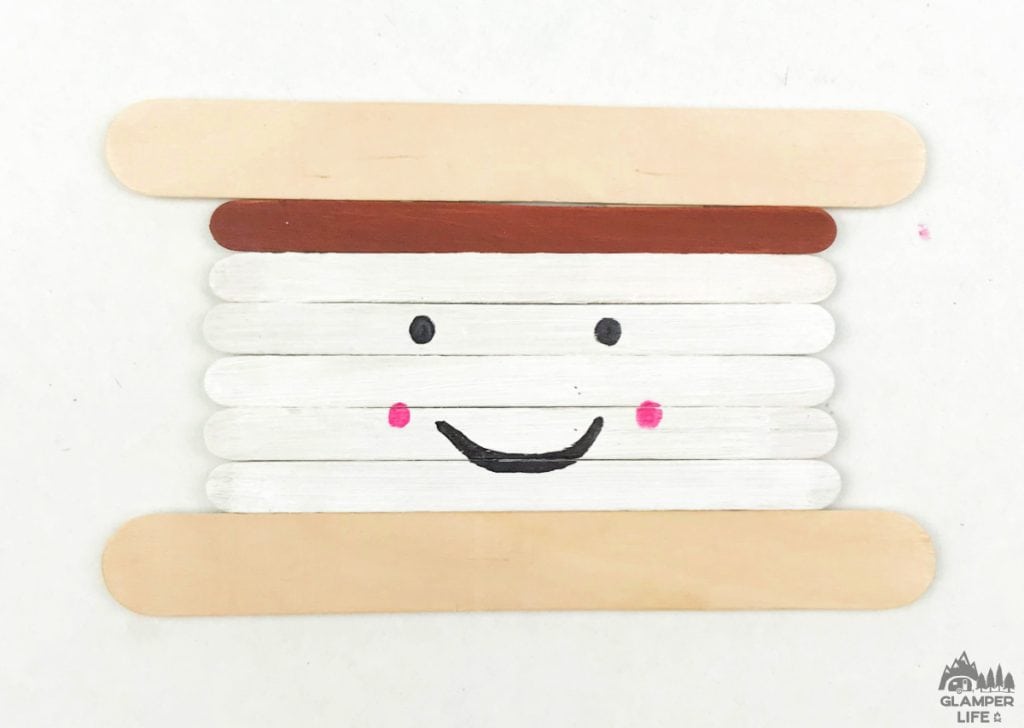
That’s it!
Totally adorable s’mores craft!
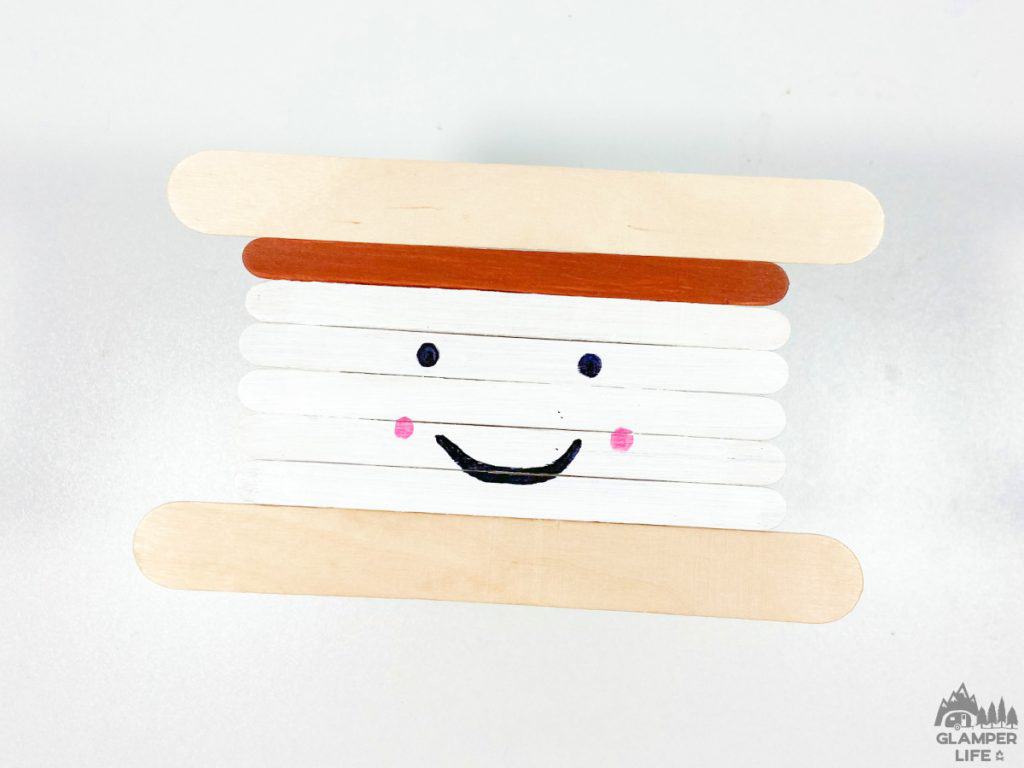
You could decorate a shelf with these popsicle stick s’mores…. or glue a string or ribbon to the back and turn them into a Christmas tree decoration! You could add a magnet strip to the back and have a cute fridge magnet for your house or camper. This easy smore craft would be a fun activity for preschoolers (with a little assistance) on up.
No matter how you decide to display your s’mores craft, it’s sure to look great!
Let us know if you decide to give this craft a try! Tell us how it turned out for you. Feel free to tag us on social media if you post a picture. We would love to see it!

