We have one super cute camping craft for you to check out today! Kids are going to love making this paper plate camper craft. With minimal art supplies, they can craft up their own glamping camper. The sky is the limit for colors, designs, and final appearance of these campers!
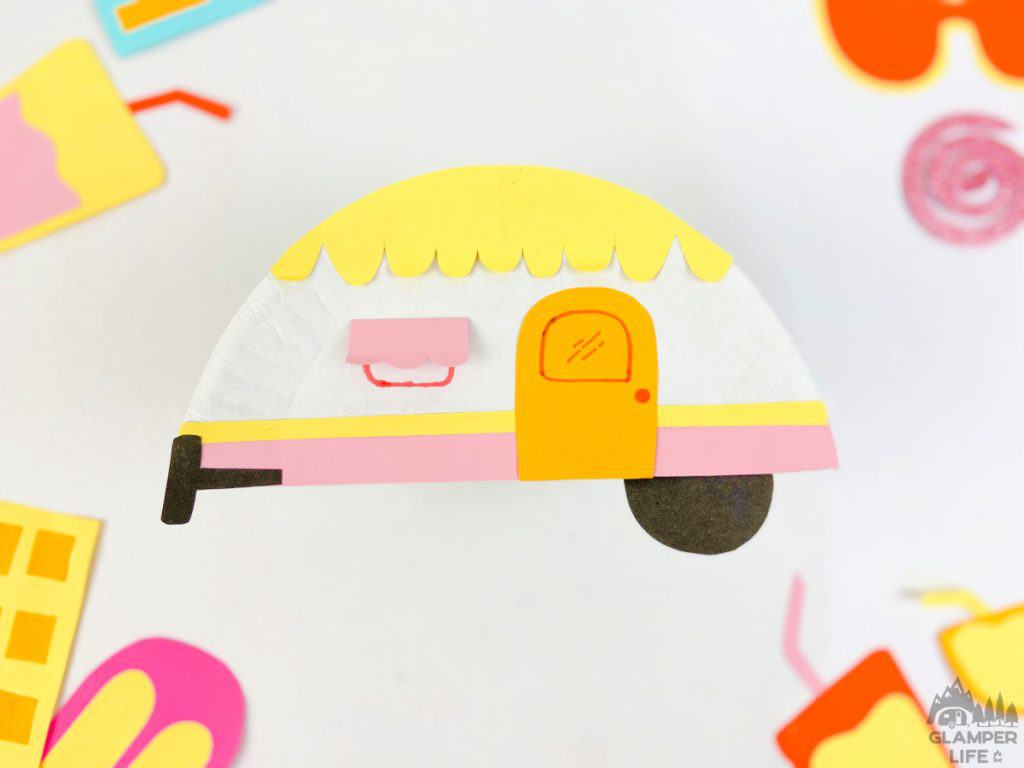
Oh! I just LOVE how these paper plate campers turned out! We made up a few of them to use for easy summer decorations around the house and they are just perfect. I am so excited to add this new camping DIY to the blog today.
This craft would be the perfect art activity at home or at camp. The minimal supply list also makes it a great option for craft time DURING a camping trip.
Customize Your Campers
As I mentioned in the intro above, these paper plate camper crafts can really exercise your creative license. Feel free to choose different colors than we did in our example. You can add all kinds of different embellishments if you’d like. Some examples include: glitter, stickers, pom-poms, etc.
Feel free to give kids an array of colors for the camper stripes and awnings. Let them see what they can create!
I have no doubt the end result will be a whole bunch of happy campers!
Paper Plate Camper Craft Supply List
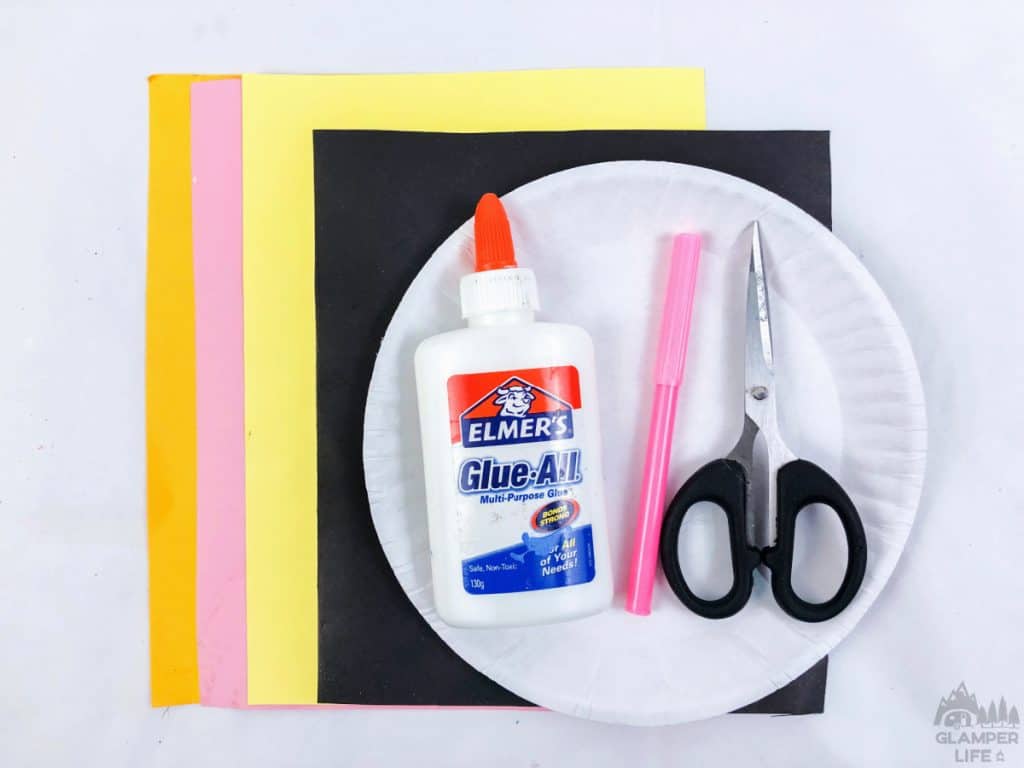
Gather up the following supplies to make these camper crafts. You will get 2 campers from each paper plate.
- Construction/colored paper (Orange, pink, yellow and black)
- Paper Plate
- Glue
- Marker (Pink)
- Scissors
How to Make a Paper Plate Camper
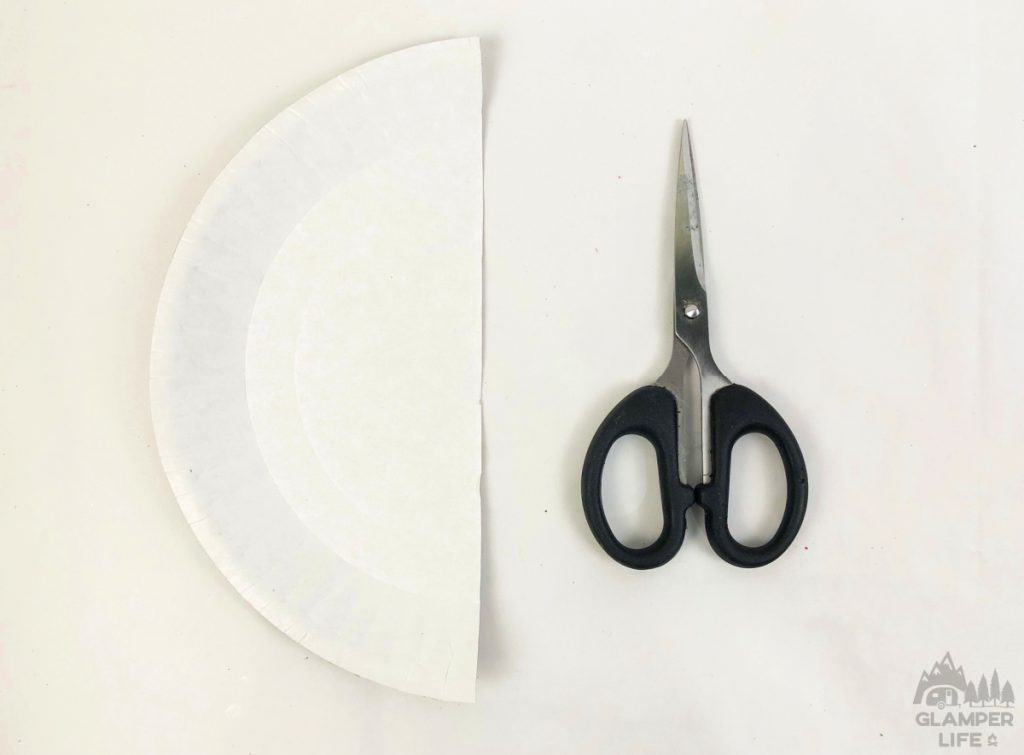
1. Cut paper plate in half. You will only need one half to make one camper.
2. Cover the flat edge of the paper plate with a rectangular strip of pink construction paper. Glue it in place.
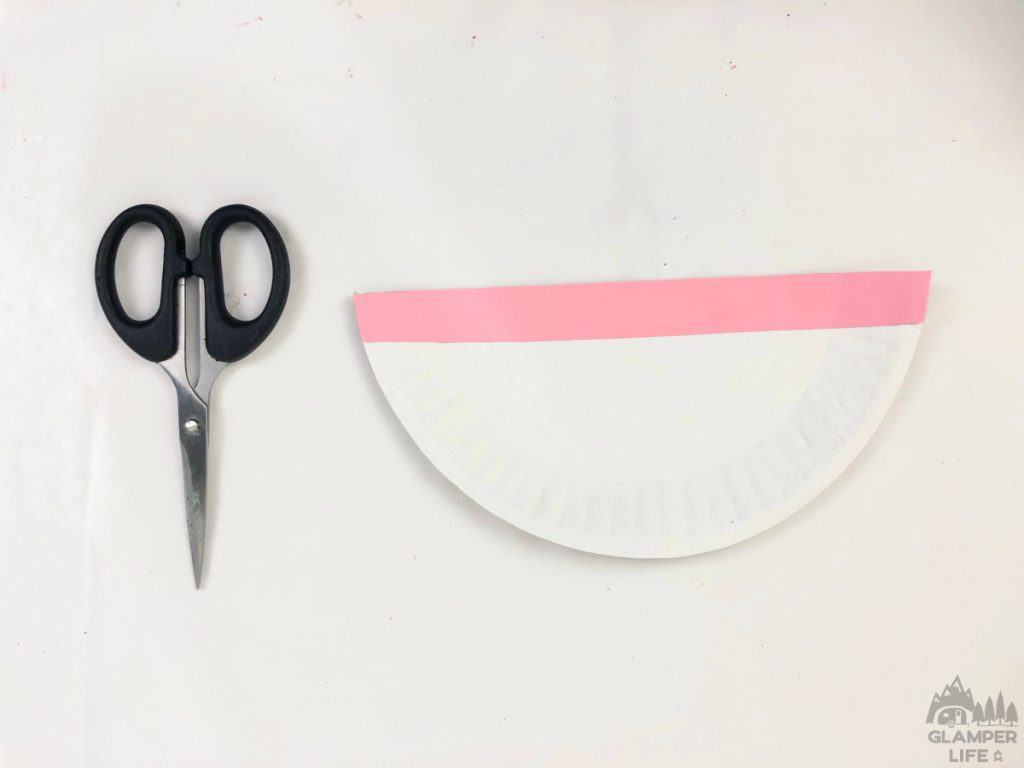
3. Cut a thinner strip of yellow construction paper (same length) and glue it right above the pink strip of paper.

4. Cut a wider rectangular strip out of the yellow construction paper. Cut a scalloped edge along one of the sides (see below for an example).
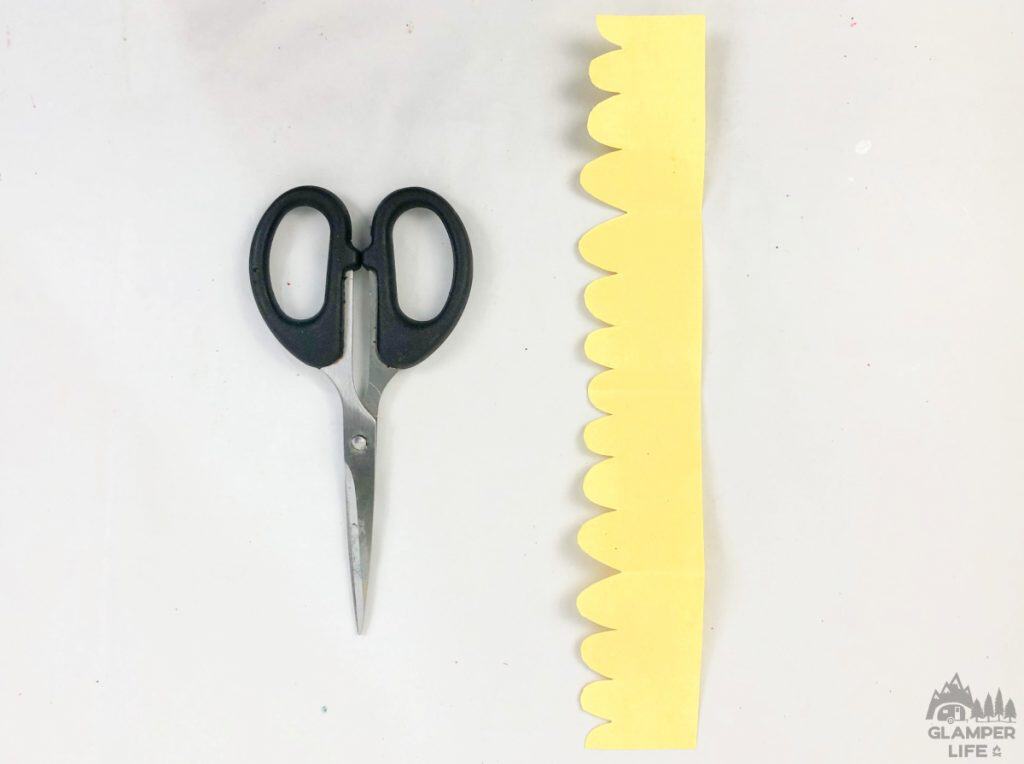
5. Cut the shorter sides and straight side in a curve to fit the top of the plate. Use our example below as a guide. Glue this yellow paper to the plate.

6. Cut a small rectangular door shape out of the orange construction paper. Glue the paper onto the plate like we did here:

7. Use the pink marker to draw details on the door. Draw a small, square window on the plate to the left of the door.
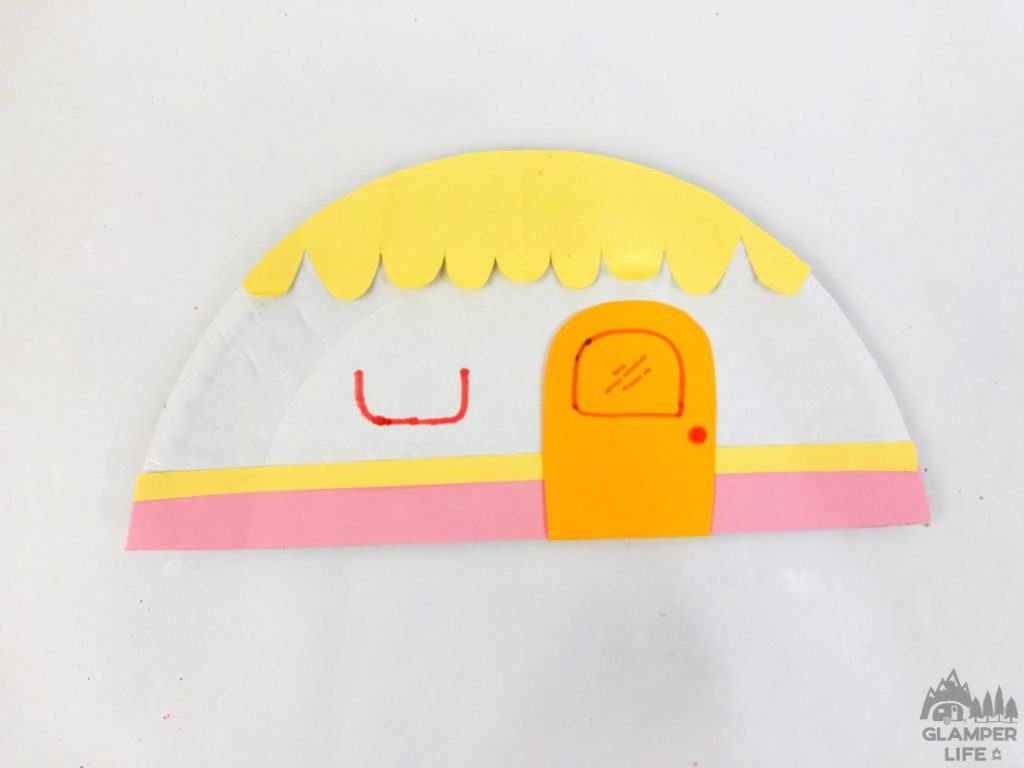
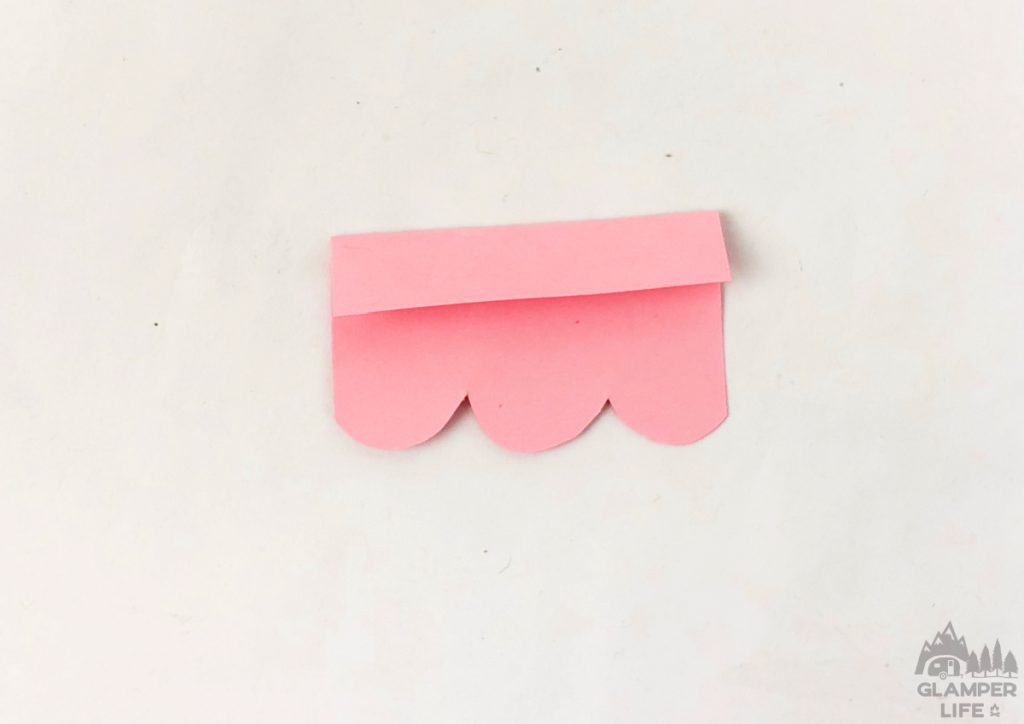
8. Cut a small square shape out of the pink construction paper and give it the same “scalloped” edge on one side to match the yellow awning. Glue this square to the top of the window as the window awning.
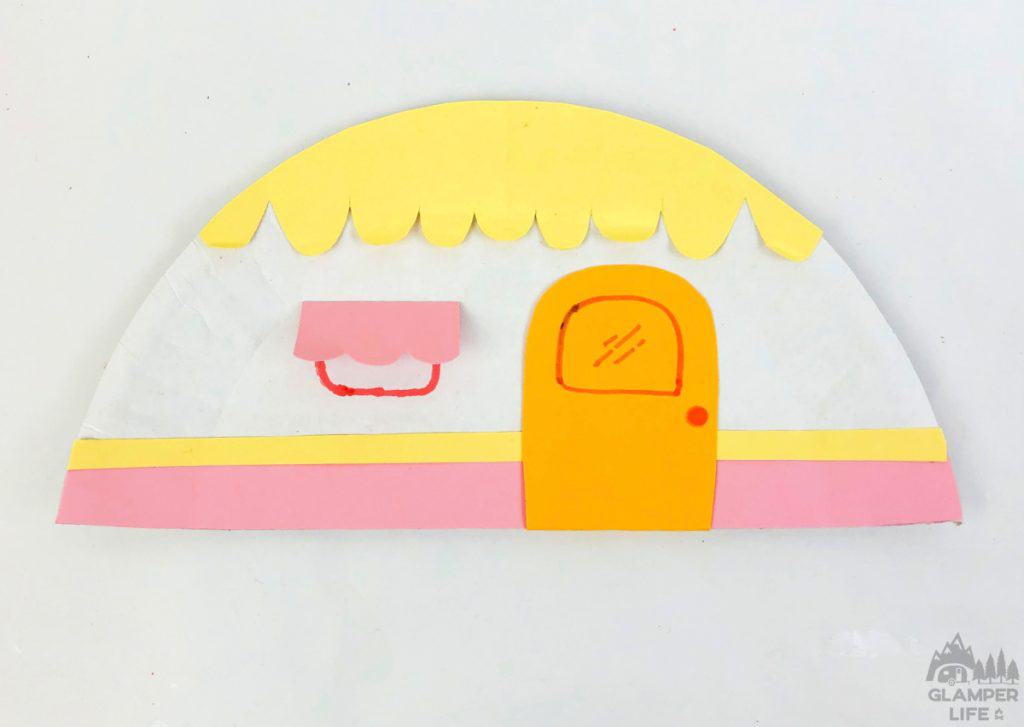
9. Draw and cut out a small circle and T-shape on the black construction paper. These shapes are the wheel and the tow hitch on your camper!

10. Glue the wheel and hitch pieces to the bottom of the plate as shown here:
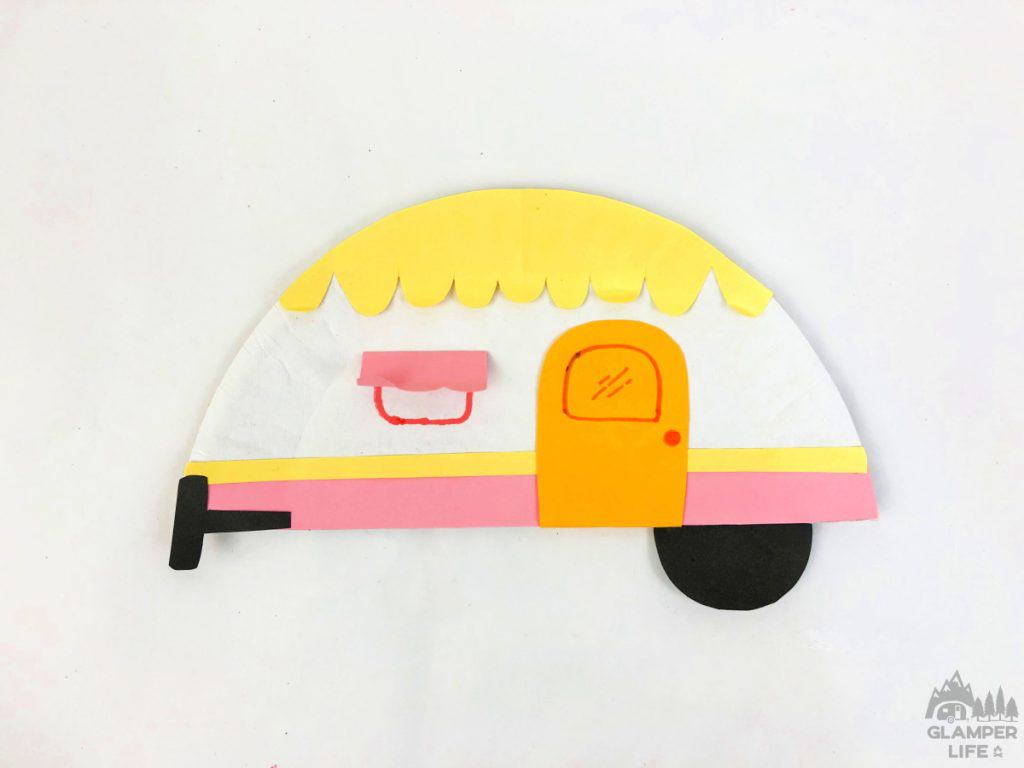
That’s it! Your adorable paper plate camper creation is finished!
Let the craft sit and dry for a couple of hours. After the glue has dried completely, your travel trailer camper is ready to decorate the space of your choice!
If you give this craft a try, let us know how it turned out! Please feel free to tag us if you post a picture of your craft to social media. We would love to see it!

